Managing resorptive lesions can be challenging with unknown outcomes. Success depends on type of resorptive lesion (internal vs. external resorption), location of lesion, and size of the lesion.
Histologically, resorption is granulation tissue with multinucleated giant cells. In terms of etiology, resorptive processes are usually attributed to traumatic episodes. Dental trauma is unpredictable, and does not have to be impact trauma. Other forms of trauma are orthodontic treatment, overheating of the dental pulp during restorative treatment (without cold water spray), and aggressive periodontal scaling.
Below is an interesting case of a primary internal resorptive lesion, which expanded and perforated the buccal and palatal aspects of the root.
45 year old female presents for evaluation of Tooth #08. Patient had no chief complaint: lesion was found on rou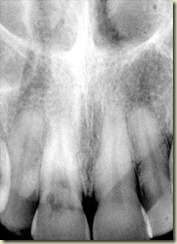 tine dental examination.
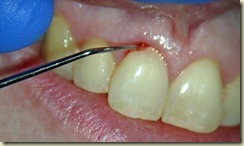
Tooth #08: Hyperresponsive on Cold. Slight pain on buccal palpation. Periodontal probings are within normal limits.
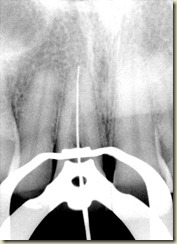
Preoperative Radiograph demonstrates widened canal system.
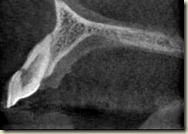
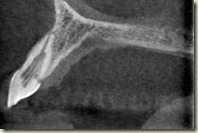
Conebeam CT Images (Courtesy of Martin Levin, DMD) demonstrate communication of internal resorption (primary) on both the buccal and palatal aspects of the root.
Dx: Irreversible Pulpitis with internal resorption
Tx plan: Non-surgical root canal treatment. Obturation will consist of gutta percha in apical 5mm of root canal system. Fluoride-releasing composite resin (Geristore) to be placed in coronal aspect of root canal system. Surgical explorations and repair of defect on buccal aspect of root.
DAY ONE: NON-SURGICAL TREATMENT
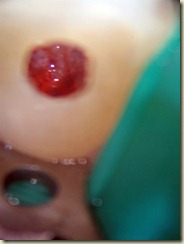
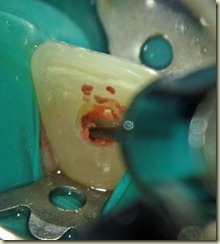
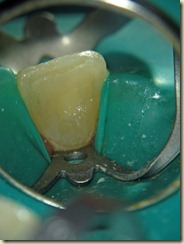
After adequate anesthesia, Tooth #08 is accessed under rubber dam isolation. An engorged dental pulp is noted on access.
Slow speed round bur is used to remove the pulpal tissue from the walls of the resorptive defect.
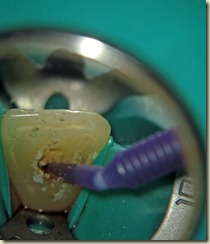
Bleeding points are still observed-Calcium Hydroxide paste is placed. Microbrushes are used to scrub the calcium hydroxide paste in the lateral aspects of the root canal system.
Calcium Hydroxide is then removed with a combination of rotary files (to WL), sodium hypochlorite irrigation, and ultrasonic activation of irrigating solutions.
Upon adequate removal of all pulpal reminants, obturation can begin.
Canal is dried with microsuction and paper points.
Warm Vertical Condensation with a master cone (size 45). 5 mm of gutta percha is left in the apical portion of the root canal system. ZOE sealer is seen on the walls in the lateral aspect of the root system. ZOE sealer is removed with a series of alcohol microbrushes. It is important to remove the ZOE sealer as the Eugenol will inhibit the composite bonding process.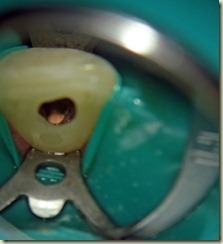
I also like to acid etch the dentin: this also helps to remove any remaining ZOE sealer as well as prepare the dentin for more adequate bonding.
Prior to Geristore placement, tenure is placed using microbrushes.
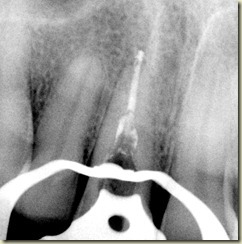
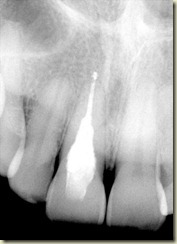 Final Radiograph of obturated case. Geristore is well placed in the coronal aspect of the canal. The access is restore with A2 Composite Resin (Pentron BuildIt).
DAY TWO: SURGICAL EXPLORATION AND REPAIR
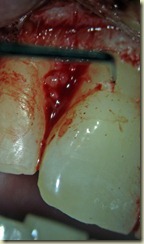
Upon raising a full thickness buccal flap, the internally placed Geristore adequately sealed the external communication (perforation).
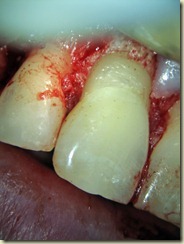
With adequate access surgically, decided to prep and add Geristore to the buccal aspect of the root. 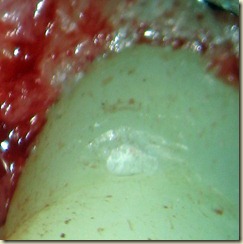
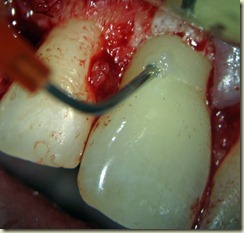
After prepping into the Geristore shallowly, Tenure is placed and then a small amount of Geristore is added to supplement the seal.
The Geristore is then polished using fine diamonds and carbide burs.
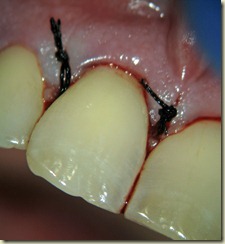
After adequate polishing, the tissue is replaced using silk sutures, which are typically removed 5 days post operatively.
